
It depends on your slab and your tolerance for risk. A DIY kit can work on a clean, dry, sound garage floor if you grind properly and follow cure times, but most kits are thin and offer no moisture protection. A professional flake system runs $6.50-$10 per square foot and is built to last longer.
It depends on your slab and your tolerance for risk. A DIY kit can work on a clean, dry, sound garage floor if you grind properly and follow cure times, but most kits are thin and offer no moisture protection. A professional flake system runs $6.50-$10 per square foot and is built to last longer.
Walk through a home center and an epoxy kit looks like a bargain, and plenty of handy homeowners have finished one successfully. Others have peeled it up a year later with a scraper and a lot of regret. The difference is rarely effort. It usually comes down to the slab, the tools, the weather on coating day and the chemistry in the can. This post compares the two routes honestly, including the situations where a kit is a reasonable choice, so you can decide based on your own garage and not on a sales pitch from either side.
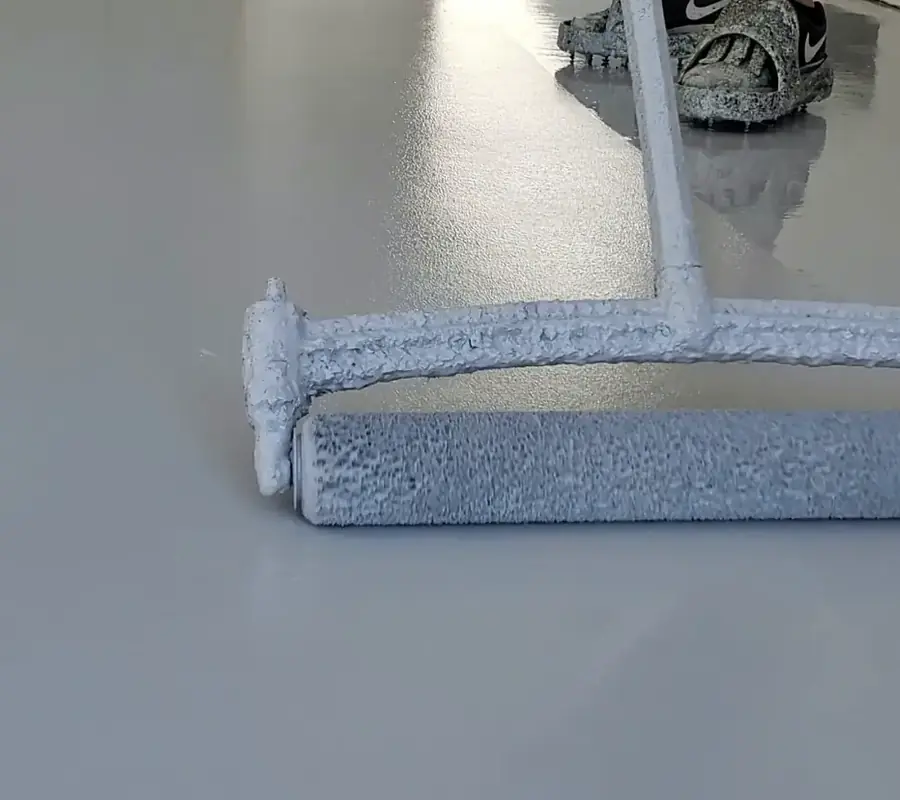
A coating is only as strong as its grip on the concrete, and that grip depends on a rough, clean, open surface called a bonding profile. Professionals create it with diamond grinding, using a heavy machine with a vacuum that removes the weak surface layer, oil-stained paste and old sealer. Most kits instead supply an acid etch or a degreaser. Etching is hard to do evenly, it can leave residue, and it rarely opens the concrete as deeply as grinding does. Renting a small grinder is possible, but rental machines are lighter, slower and easy to use badly, and dust control is a real issue in a garage attached to your home. Cracks, spalls and control joints also need repair before any coating goes down. If you do go the DIY route, spend most of your effort and budget here. A mediocre coating over a well-prepared slab will usually outlast a premium coating over a poorly prepared one. Professionals also repair and fill cracks with materials meant for that purpose, then grind the repairs flush so they do not telegraph through the finished floor. In a DIY job those repairs are often rushed, and they become the first visible flaw. Take your time with this stage, because there is no way to fix it after the coating is down.
Concrete is porous, and water vapor can move up through a slab even when the surface feels dry. Under a coating that vapor builds pressure and shows up as bubbles, blisters and peeling sheets. Many garage slabs in tract homes were poured over a vapor barrier that may have aged or been damaged, and some sit near irrigation or a downhill grade. A taped-down plastic sheet test gives a rough clue, but it is not a measurement. Professionals often use a moisture meter and, when the slab calls for it, apply a moisture-barrier epoxy basecoat that is designed to resist vapor drive. Most retail kits are not built for that job. If your slab has any history of dampness, efflorescence or white mineral stains, a kit is a gamble. Even in a dry climate, a slab that sits beside a landscaped area can carry more moisture than you expect, so it is worth checking before you buy anything. One more point is timing. Moisture can change with irrigation, rain and the season, so a slab that tests dry in one month can behave differently in another. That is part of why pros prefer to protect the floor with a barrier basecoat when there is any doubt, instead of hoping conditions stay favorable.
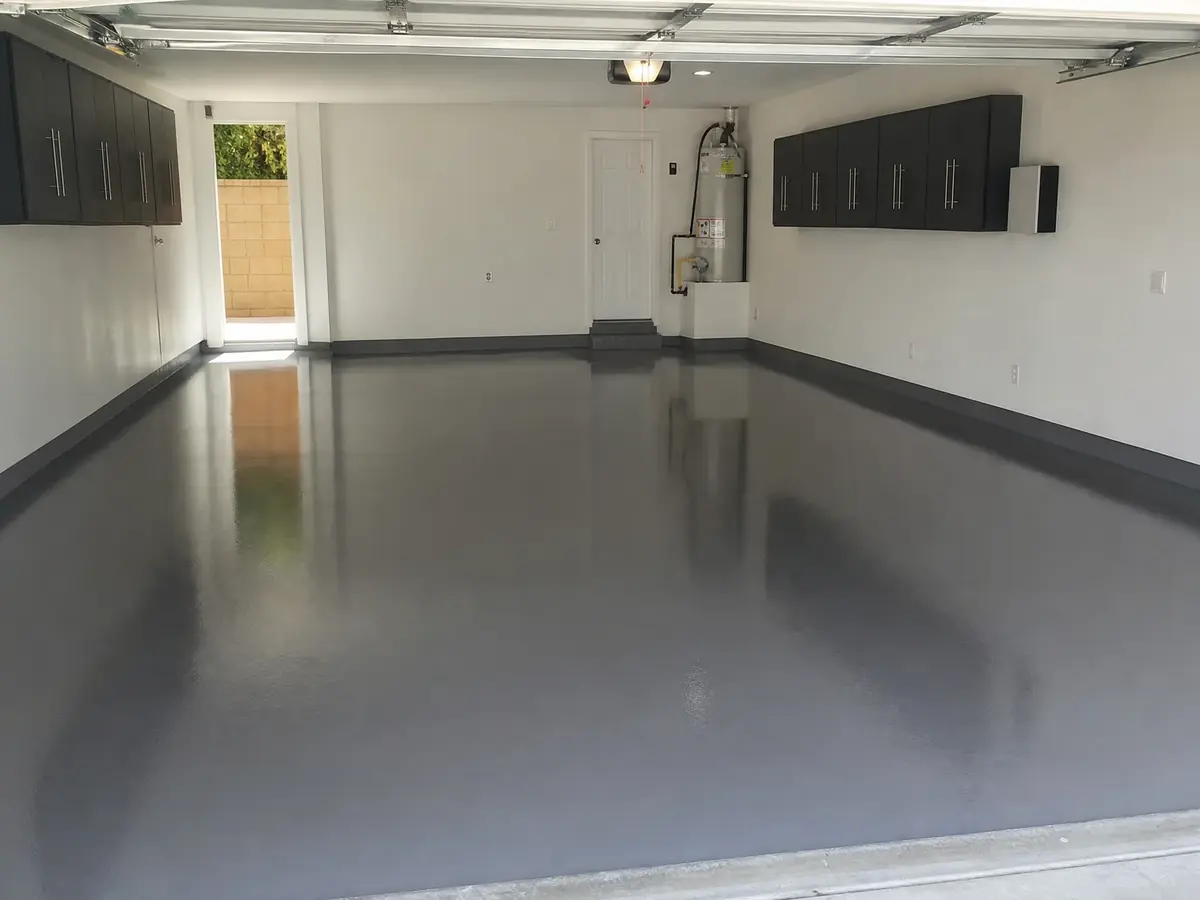
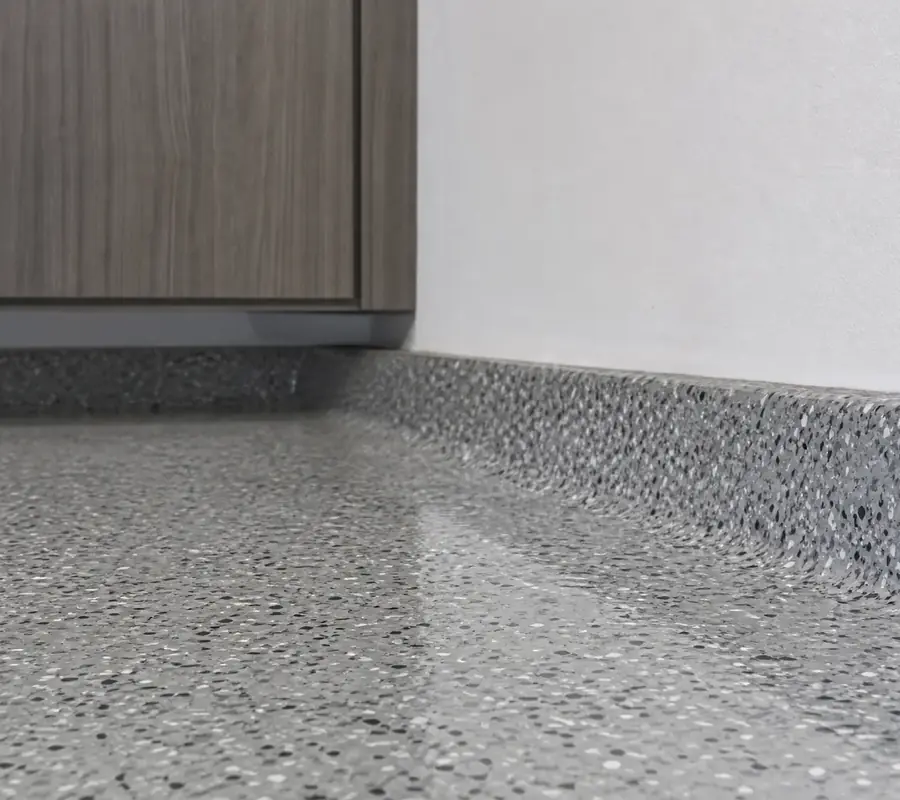
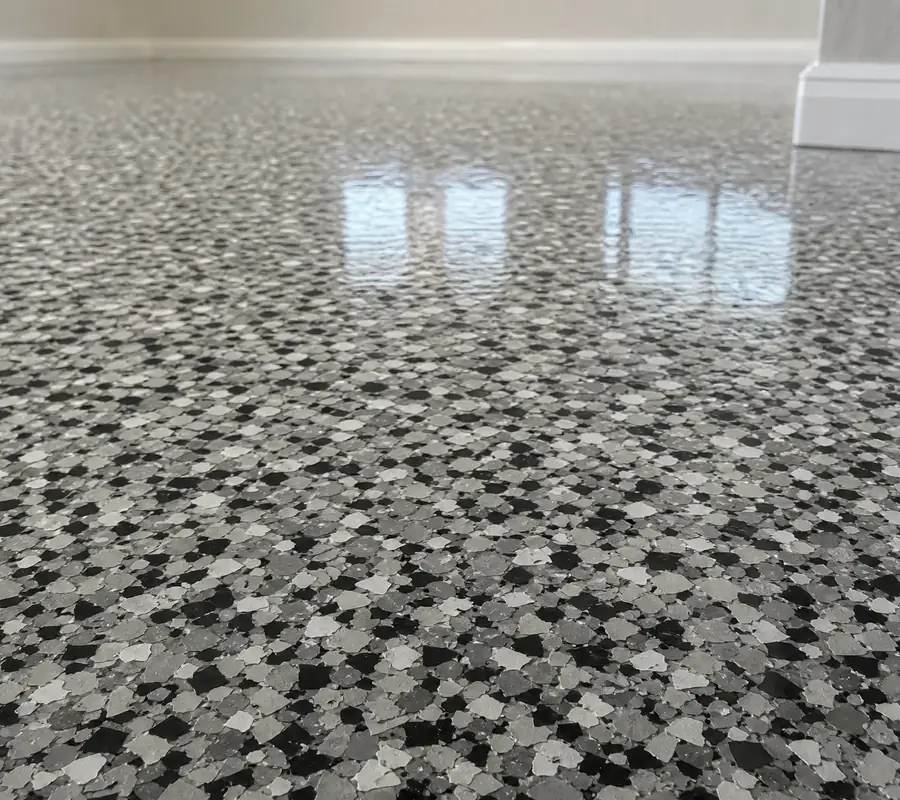
The top layer takes the abuse: tires, chemicals, scrapes and sun. Water-based and thin one-coat kits can look good on day one but wear quickly, and hot-tire pickup, where a warm tire softens or lifts the coating, is a common complaint. A professional system typically uses a thicker pigmented basecoat, a full-rejection flake broadcast that covers the color completely, and a UV-stable polyaspartic topcoat that resists yellowing when sun reaches the floor. Those materials also have short working times. They set quickly, which is why they are harder for a first-timer to roll out without lap marks, bubbles or missed spots. Kits with a longer working time are more forgiving, but they usually give up thickness and toughness in exchange. Neither approach is wrong. They simply sit in different places on the scale from easy to apply to durable under daily use. Another difference is thickness. Professional systems build several layers with a measurable film, and the flake itself adds body and hides small imperfections in the concrete. Thin kit coats follow every flaw in the slab, so repairs, pits and trowel marks tend to stay visible through the finish.
A kit looks cheap, but the real cost includes extras: a grinder rental, a dust vacuum, patching compound, rollers, spiked shoes, extra flake or topcoat and a respirator. Kit prices change often, so check the current price rather than trusting a number from an article. Add your own weekend or two, because grinding, patching, priming, coating and curing do not fit into one afternoon, and a mistake means starting over. Professional pricing is simpler to compare. Flake epoxy runs $6.50-$10 per square foot, which is $2,600-$4,000 for a two-car garage up to 400 square feet, and our minimum project is $2,600. A flake system is finished in one day, solid color takes about three, quartz two to three and metallic three to four. Our limited lifetime adhesion warranty covers residential work, which is something no kit can offer. Weigh the savings against the chance of redoing the job. Keep one more cost in mind: your time has value too. If a mistake means grinding the whole floor off and starting over, the kit savings are gone and the garage is out of service even longer. Count that possibility when you compare a kit price with a professional quote, not just the sticker price.
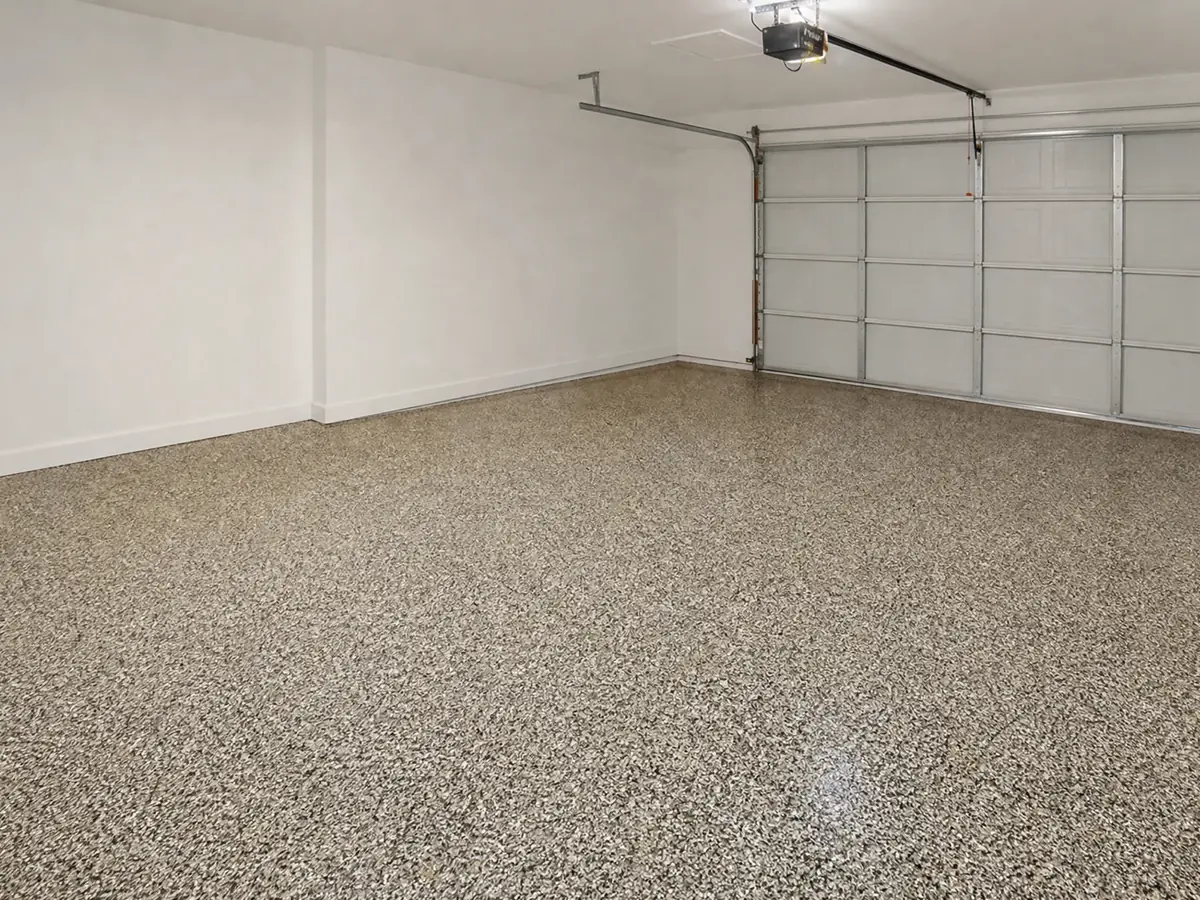
A DIY kit makes sense in a few cases: a small utility space, a rental you plan to leave soon, a slab you know is dry and sound, or a project where a short-lived coating is acceptable. If you enjoy the work, own or can borrow good grinding gear, and can pick a mild day, it can be a satisfying job. Hiring out makes more sense when the garage is a two or three car space, the slab has cracks or old oil stains, you are not sure about moisture, or you want a floor that will still look clean through many summers of hot tires. Santa Clarita Valley garages can get very warm in summer, and heat shortens working time for fast-setting coatings, which adds to the difficulty. Whichever way you go, be honest about your skills and your slab. Ask for a free estimate if you want a professional opinion before deciding, since it costs nothing to compare. If you are leaning toward DIY, a sensible middle path is to hire the grinding and repair and handle nothing else, or to ask for a moisture and surface check first. Many owners find that knowing the true condition of the slab settles the question quickly, one way or the other.
A kit is a fair choice for a small, dry, sound slab and a patient owner. For a standard garage, thorough grinding, moisture control and the right topcoat usually justify hiring a professional. If you are unsure about your slab, call Elevate Epoxy Flooring at (661) 457-5812 for an honest opinion. Call (661) 457-5812 for a free estimate.
It can be, on a small, dry, sound slab where you do thorough grinding and follow cure times exactly. It is a poor bet on a large garage or a slab with cracks, stains or moisture. The savings disappear if you have to redo the floor.
A 20x20 garage is 400 square feet. A professional flake epoxy floor is $6.50-$10 per square foot, or $2,600-$4,000 for that size. A DIY kit costs less in materials but needs extra tools, grinder rental and your own time.
For a two-car garage up to 400 square feet, a flake system is $2,600-$4,000. Solid color starts at $3,800, quartz and sand runs $3,600-$6,600 and metallic runs $5,000-$7,400. Cracks, old coatings and heavy staining can change the final price.
They can, especially when the concrete was only acid etched or has moisture rising through it. Peeling often starts under the tires or at the door. Grinding, crack repair and a coating built for the slab reduce the risk a lot.
Plan on at least a full weekend, and often more. Cleaning, repairs, prep, primer, coating and cure time cannot be rushed. A professional flake floor is done in one day, though you should still follow return-to-service guidance for cars.
Usually the old coating has to come off first. A failing kit coating is ground off so the new system can bond to bare concrete. Coating over loose or peeling material only moves the failure to a new layer.
Durable, easy-to-clean garage floors that resist hot-tire pickup, oil and salt. Most two-car garages are done in one day.
Learn more →Full-rejection flake over a moisture-barrier epoxy basecoat, sealed with a UV-stable polyaspartic topcoat. Installed in one day.
Learn more →Diamond-ground concrete finished with a clear sealer for a natural, low-maintenance floor at the lowest installed price.
Learn more →There is no honest single number, because lifespan depends on the system and the conditions. A floor with proper diamond grinding, a moisture-barrier basecoat and a UV-stable topcoat can stay in good shape for a long time. Poor prep, moisture, sun and hot tires shorten it, and the topcoat usually wears first.
Read the answer →We cannot tell you your association's rule, because HOA documents differ from one community to the next. Check your CC&Rs and ask the board or management company whether a garage floor coating needs approval. For permit questions, ask the City of Santa Clarita Building and Safety. Get every answer in writing before work starts.
Read the answer →An epoxy-based pool deck coating is a thin resin film bonded to prepared concrete, while cool deck resurfacing is usually a thicker, textured cementitious or similar overlay made to stay cooler underfoot. Both cover worn concrete. They differ in thickness, heat, grip, color options and repair. Outdoor concrete coatings here run $8-$12 per square foot.
Read the answer →Call (661) 457-5812 or send the form at the top of the page. We reply the same day.